3DHOP
3D Heritage Online PresenterHow To
Description
This page describes the basic HTML and JavaScript elements required to initialize the 3DHOP environment.
Viewer initialization
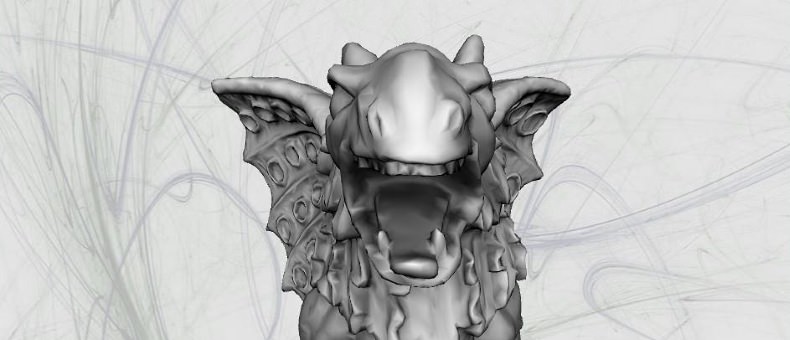
Click to run live demo
The basic HTML and JavaScript elements for the simplest 3DHOP implementation
Set Up
The 3DHOP viewer is provided as an independent HTML element, that can be embedded in every web page just following a few simple steps.
The first one is to include in the target page (i.e. where you want to place the viewer) the files responsible for the appearance and for the operation of our tool:
<link type="text/css" rel="stylesheet" href="stylesheet/3dhop.css"/>

<script type="text/javascript" src="js/spidergl.js"></script>

<script type="text/javascript" src="js/jquery.js"></script>

<script type="text/javascript" src="js/presenter.js"></script>

<script type="text/javascript" src="js/nexus.js"></script>
<script type="text/javascript" src="js/ply.js"></script>

<script type="text/javascript" src="js/trackball_sphere.js"></script>
<script type="text/javascript" src="js/trackball_turntable.js"></script>
<script type="text/javascript" src="js/trackball_turntable_pan.js"></script>
<script type="text/javascript" src="js/trackball_pantilt.js"></script>

<script type="text/javascript" src="js/init.js"></script>
As is possible to see in the code box presented above, in the specific we are talking about one CSS file and some JavaScript files. The style sheet linked file is obviously the one that deals of the 3DHOP aspect, while the other files manage respectively the inclusion of: the external libraries, the viewer initialization files, the model loader scripts and, at last, the trackball definition files. Let's look now, file by file, what each of these JavaScript file is:
| spidergl.js | - | the graphic library, encapsulating support for the WebGL API; |
| jquery.js | - | an utility library, support for the HTML DOM manipulation; |
| presenter.js | - | the core of the viewer, responsible for its operation; |
| nexus.js | - | the library to manage 3D multi-resolution models; |
| ply.js | - | the script used to parse and load 3D models in PLY format; |
| trackball_sphere.js | - | the file that defines a spherical trackball for user-scene interaction; |
| trackball_turntable.js | - | the file that defines a turn-table trackball for user-scene interaction; |
| trackball_turntable_pan.js | - | the file that defines a turn-table-panning trackball for user-scene interaction; |
| trackball_pantilt.js | - | the file that defines a pan-tilt trackball for user-scene interaction; |
| init.js | - | the file that contains viewer initialization scripts; |
After these simple files inclusions you can jump to the definition of the real 3DHOP component. As previously said our viewer is designed as unique HTML block, composed (in the basic version) by a DIV element containing the CANVAS (CANVAS is the HTML5 element that allows to embed the dynamic graphic contents in a web page):
<div id="3dhop" class="tdhop" onmousedown="if (event.preventDefault) event.preventDefault()">
 <canvas id="draw-canvas" style="background-image: url(skins/backgrounds/light.jpg)"/>
</div>
As shown in the source code above, in-line with the CANVAS element definition is also set the viewer
background, easily accessible and editable by the user (simply replace the provided background with your preferite image).
The DIV element, identify by the "3dhop" tag id, can be inserted and moved around the BODY layout
of a web page exactly as any other DIV container, so permitting to visualize the multimedia interactive
content according to the user's preferences.
3DHOP standard behaviour, as well as the interaction with the other HTML elements, is studied to not interfere
with the rest of the page, but however can be easily modified by a user with a reasonable knowledge of
web programming, just modifying the CSS or the initialization file.
Well, once this element have been included in your Web page, to correctly run 3DHOP it only remains to insert in the target page that contains
the viewer a script block, holding the JavaScript methods to set up our tool.
More specifically in this block there will be a function definition and two function calls.
The method defined here ("setup3dhop") is in reality the base of all the viewer: this is in fact the function
that is responsible for handling the canvas and to setup the 3D scene. However the completely declarative structure
that allows to specify, step by step and in a very intuitive mode, almost every aspect of the scene, will not
be shown here (the explanation of the "setScene" content is postponed in the following HOWTO).
var presenter = null;

function setup3dhop() {
  presenter = new Presenter("draw-canvas");

  presenter.setScene({
    ...
  });
}
The two function calls previously mentioned, specified in the jQuery method "ready" (executed only when the DOM is fully loaded), are instead shown in the box below:
$(document).ready(function(){
  init3dhop();

  setup3dhop();
});
In particular "init3dhop", as is well understandable by the name, is the method proposed to initialize the viewer, while "setup3dhop" simply executes how before coded in this function definition, drawing the scene in the CANVAS.
The initialization of 3DHOP in his basic form ends with these two function calls. So, summarizing what is needed to run this viewer, you just have to include in the HTML page:
- the CSS and JavaScript 3DHOP related files,
- the DIV with the proper viewer,
- the script defining the scene setup,
- the script that run our tool initialization and setup;
…and you are done!
The complete sources of this example are provided together the 3DHOP code in the download section.
If you want instead to learn more about how to personalize 3DHOP aspect and interface click here and go to the next HOWTO.